
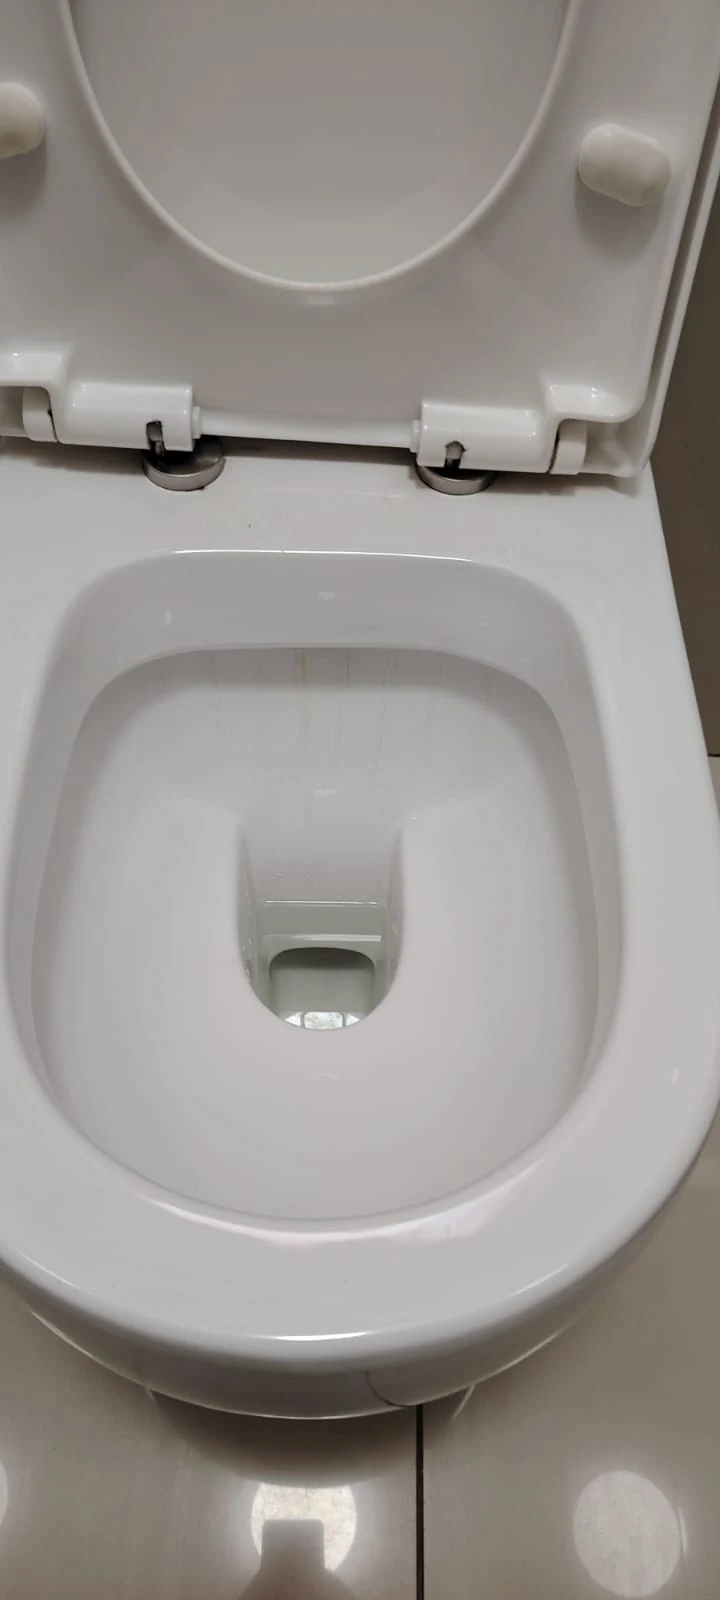
A toilet installation must do more than look neat. The pan needs the correct outlet alignment, firm support, reliable water connection, accessible isolation and a leak-free seal. Poor installation can lead to movement, odours, weak flushing, hidden leaks and damaged flooring.
Before you worry
The replacement toilet must suit the existing waste outlet position and available space. Measure before buying, because a toilet that does not match the connection may require pipe alterations rather than a simple swap.
How to recognise the problem
- The old toilet rocks, leaks or no longer flushes reliably.
- The pan is cracked, heavily stained or difficult to maintain.
- The bathroom layout is being renovated.
- The outlet position does not match the intended new toilet.
- The isolation valve or water connection also needs replacement.
Common causes
- Replacement after age, damage or repeated repairs.
- Bathroom renovation or accessibility improvement.
- Water-saving upgrade.
- Incorrect previous installation.
- Change between close-coupled, back-to-wall or wall-hung designs.
What you can safely check yourself
- Measure the distance and direction of the waste outlet.
- Check available wall and door clearance.
- Confirm the new toilet includes or specifies required fittings.
- Plan for another toilet to remain available during the work.
- Photograph the existing connections for discussion with the installer.
What you should never do
- Do not buy solely by appearance without checking outlet compatibility.
- Do not reuse a damaged pan connector.
- Do not rely on silicone as the primary fixing.
- Do not overtighten ceramic fixings.
When to call a plumber
Use a plumber when the outlet must be altered, the floor is uneven or damaged, the toilet is wall-hung or concealed, or compliance and waterproofing could be affected.
How professionals solve it
The plumber isolates and removes the old toilet, checks the waste connection and floor, fits a suitable pan connector, levels and secures the new pan, connects the cistern and isolation valve, seals appropriately and performs repeated leak and flush tests.
How to prevent it happening again
- Choose serviceable components with available spares.
- Keep the isolation valve accessible.
- Fix movement immediately.
- Avoid harsh impacts on ceramic fittings.
- Maintain clear access to concealed components.
Frequently asked questions
How long does a toilet installation take?
A straightforward replacement may be completed in a few hours, while altered pipework, floor repairs or concealed systems take longer.
Can any toilet replace my existing one?
No. Outlet position, dimensions, water connection and wall clearance must all be compatible.
Should a toilet be sealed all the way around?
Sealing practice depends on the installation and floor, but the pan must first be mechanically secure and the outlet connection proven leak-free.
Planning a toilet installation?
Send us the existing toilet details, outlet position and a photo of the space so the correct installation requirements can be assessed.